Understand the concern.
Understand the patient’s priorities and identify areas for further assessment.
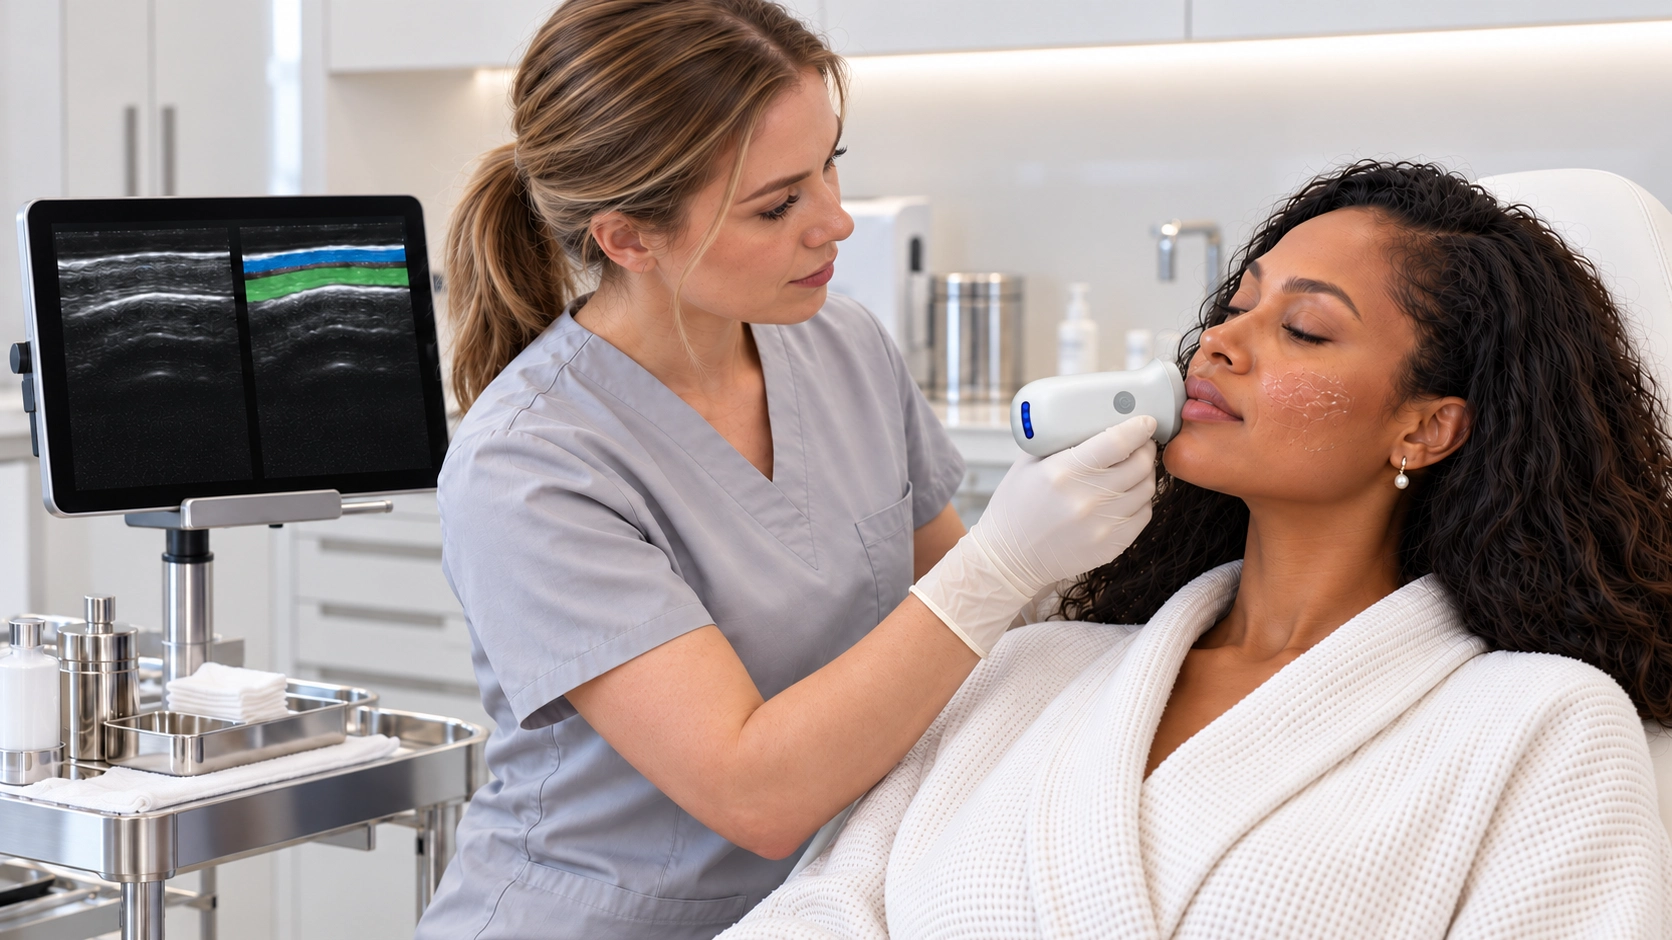

Bring handheld ultrasound into your aesthetic practice, with imaging that supports assessment and patient conversations.
Explore the clinical workflowExplore superficial tissue in the area of concern, with handheld imaging that supports clinical assessment.
Explore the clinical workflow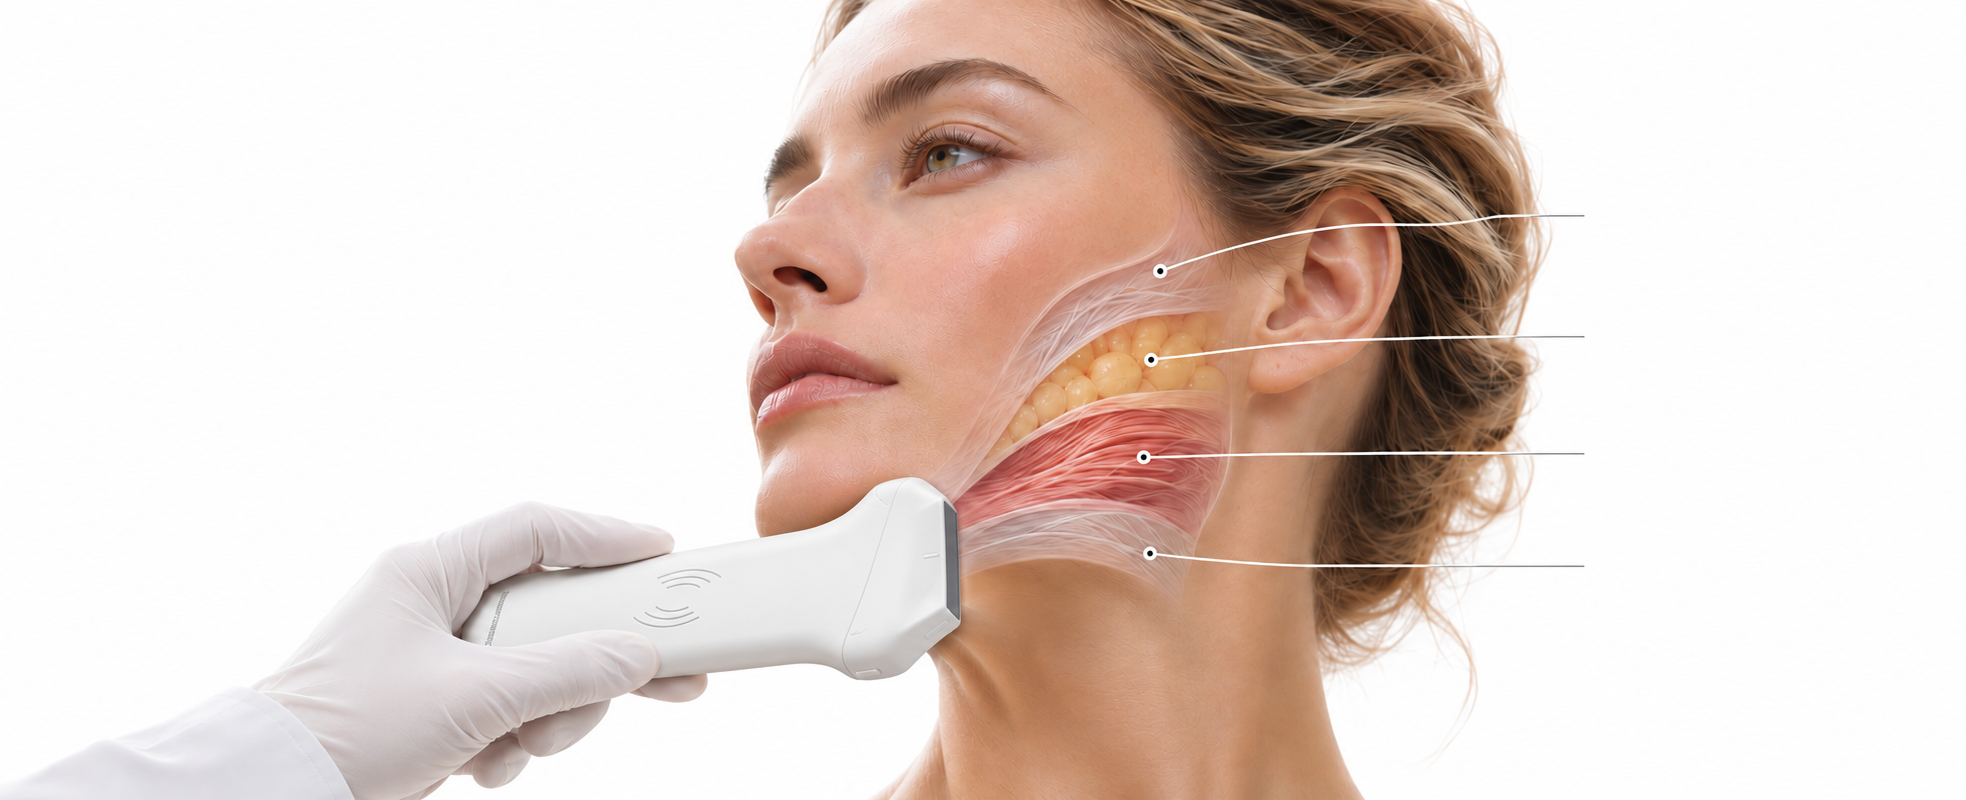
Explore structure. Understand context.
Thickness & layer continuity
Thickness, distribution & uniformity
Thickness & structure
Depth & connective anatomy
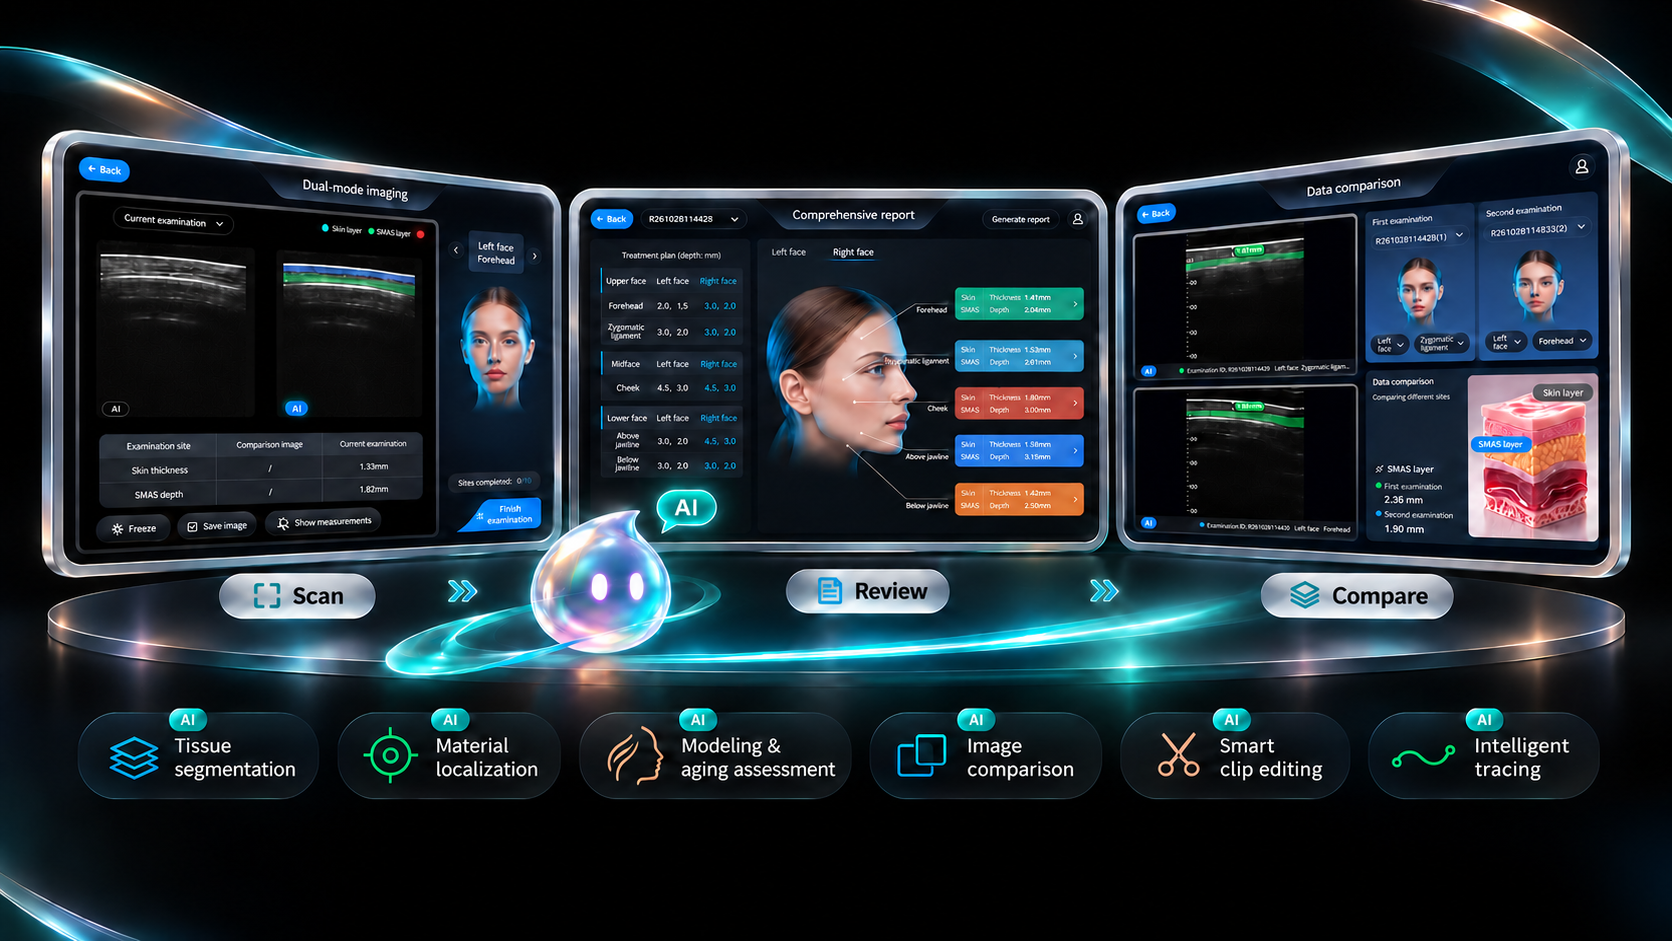
Handheld ultrasound across the aesthetic consultation — from tissue assessment to physician-led report review and image-guided care.
Understand the patient’s priorities and identify areas for further assessment.
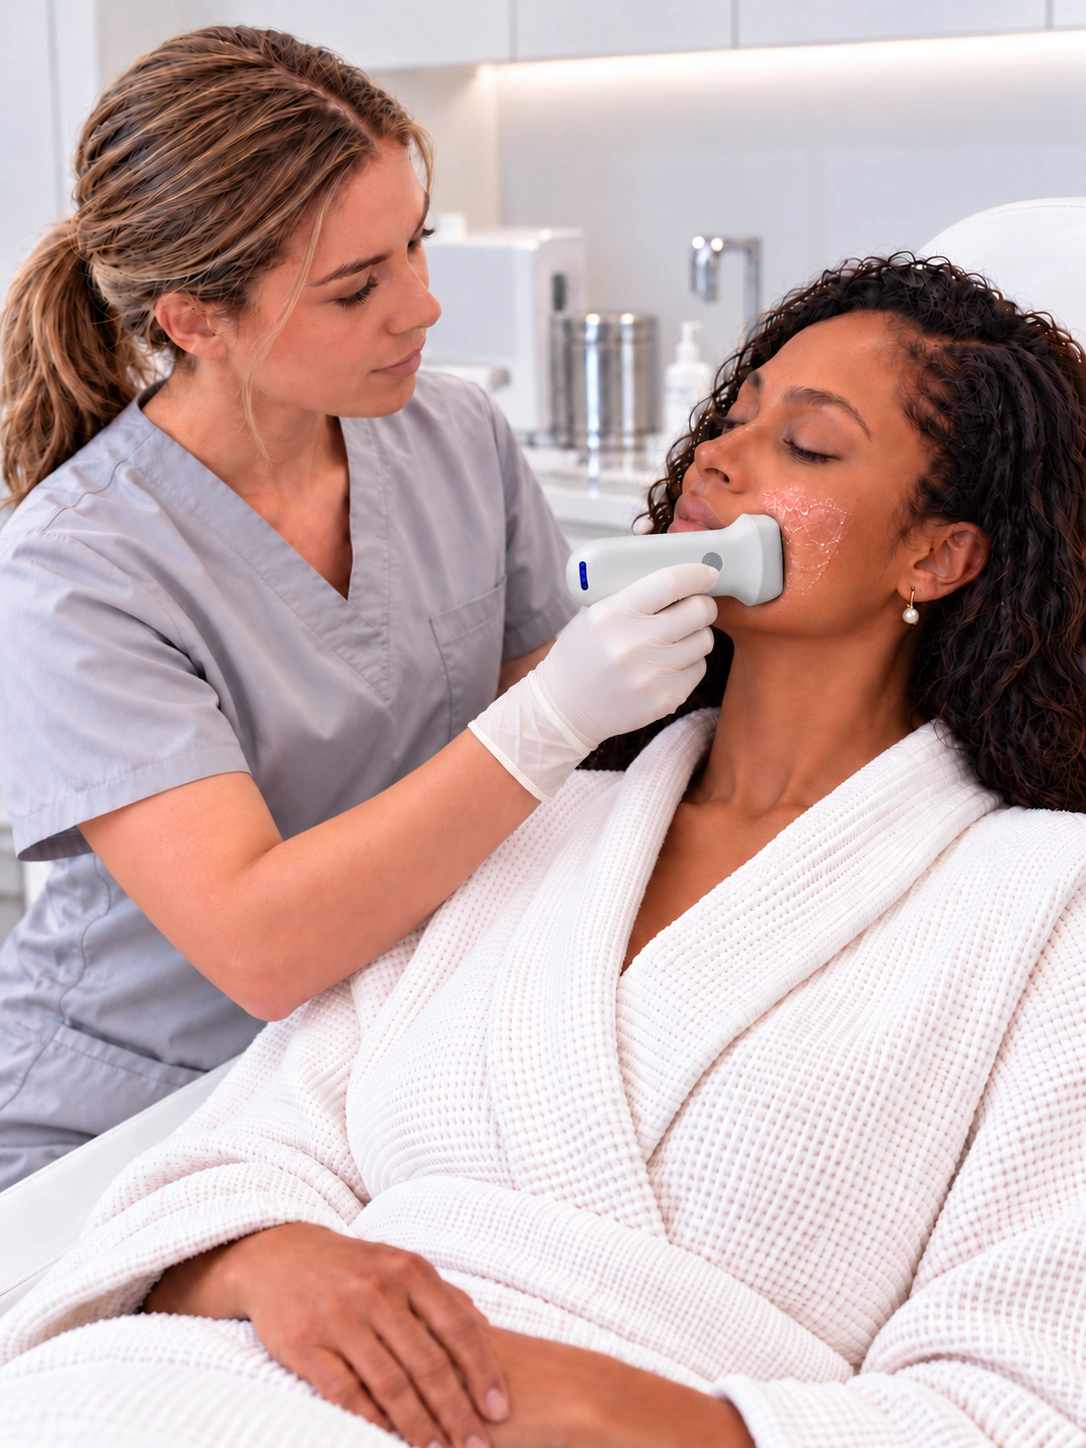
Visualize skin and underlying tissue with handheld ultrasound to support clinical assessment.

Review images and measurements with the patient to support a more informed consultation.
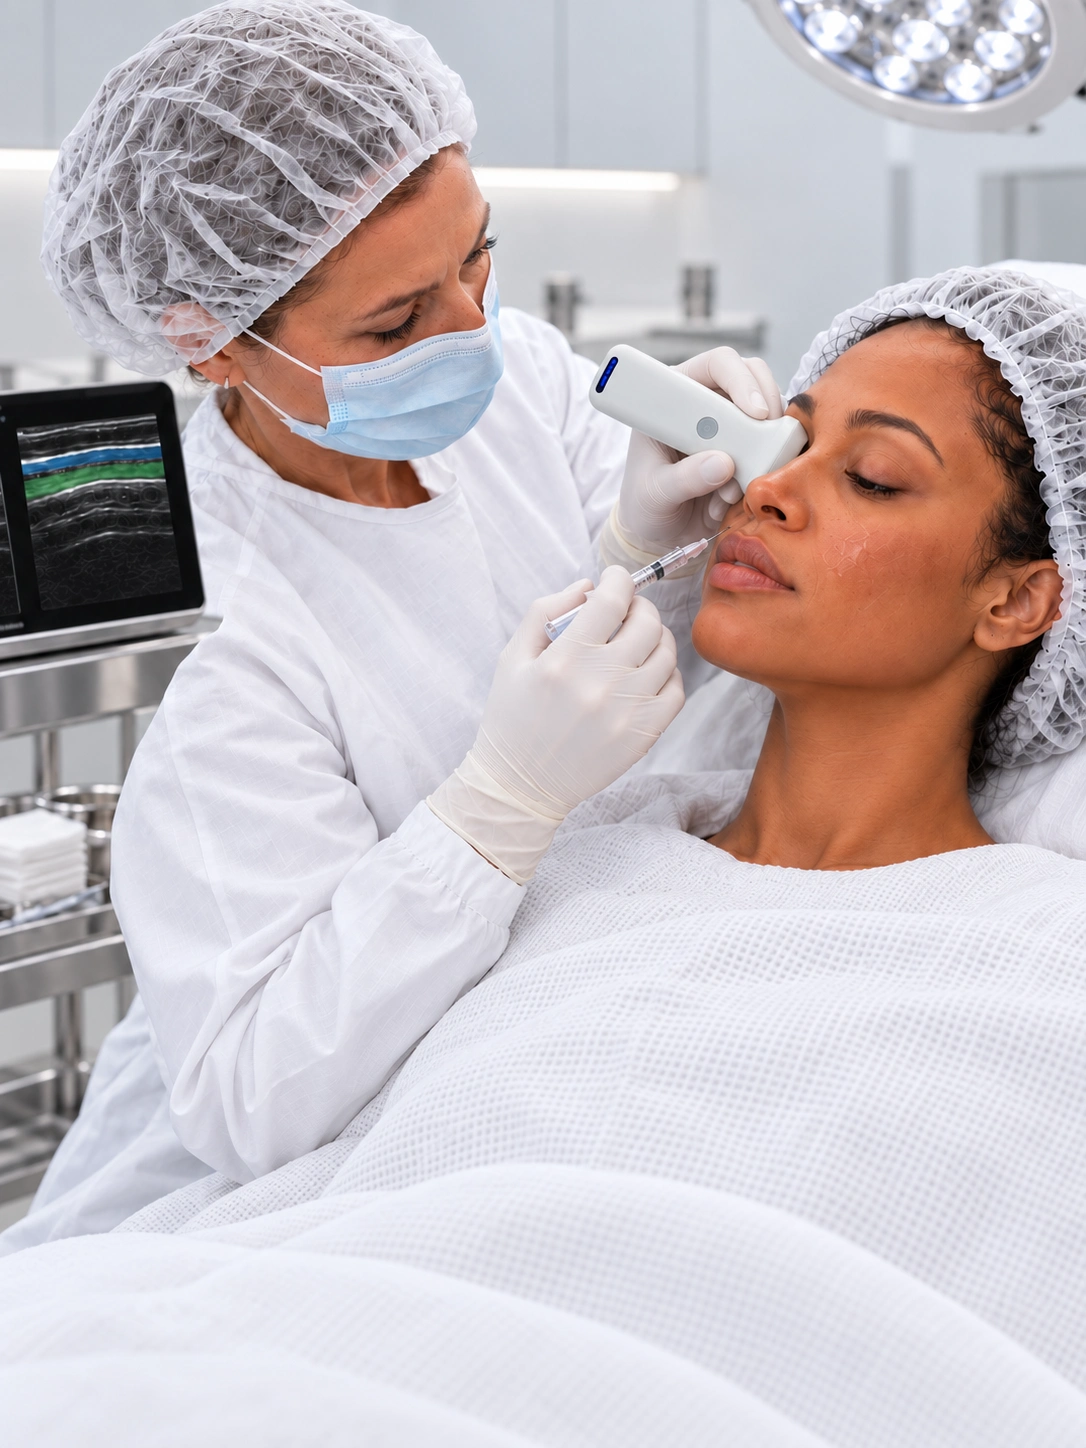
View the treatment area with ultrasound to support physician-led injection guidance.
Explore tissue relationships, existing filler regions and local blood flow. Add imaging context to aesthetic assessment and image-guided procedures.
Grayscale imaging for tissue structure.
Measure tissue thickness, structural dimensions and depth beneath the skin surface to bring quantitative information into treatment assessment. Record measurements as reference points for comparison during follow-up.
Observe the tissue layer, extent and appearance of existing injectable material regions, and measure their size. Review their relationship to surrounding tissue before considering further treatment.
View the needle in relation to target tissue as the procedure progresses. Use real-time imaging as a visual reference for positioning and needle path adjustments during filler injections and other image-guided procedures.
Review vessel location and flow signals within skin and superficial tissues. Assess their relationship to the planned treatment area to inform injection site and needle path planning.
Use the spectral waveform to review blood flow velocity over time at a selected vessel. Combine these findings with tissue imaging and other Doppler views to support post-treatment vascular assessment and follow-up.
Visualize low-velocity, weak flow signals to complement assessment of superficial tissues. Review these signals alongside images of filler regions and surrounding tissue to support comparisons before and after treatment.
View the layers, boundaries and relationships of the epidermis, dermis, subcutaneous tissue and SMAS. Bring the anatomy of the target area into view to inform assessment of the treatment area and intended tissue layer.
AI-assisted needle-path extension & tracking
AI-assisted material identification
AI-assisted tissue measurement
AI-assisted tissue assessment
HARDWARE & CONFIGURATION
A handheld probe. A mobile workflow. Choose the hardware configuration that fits your imaging needs.
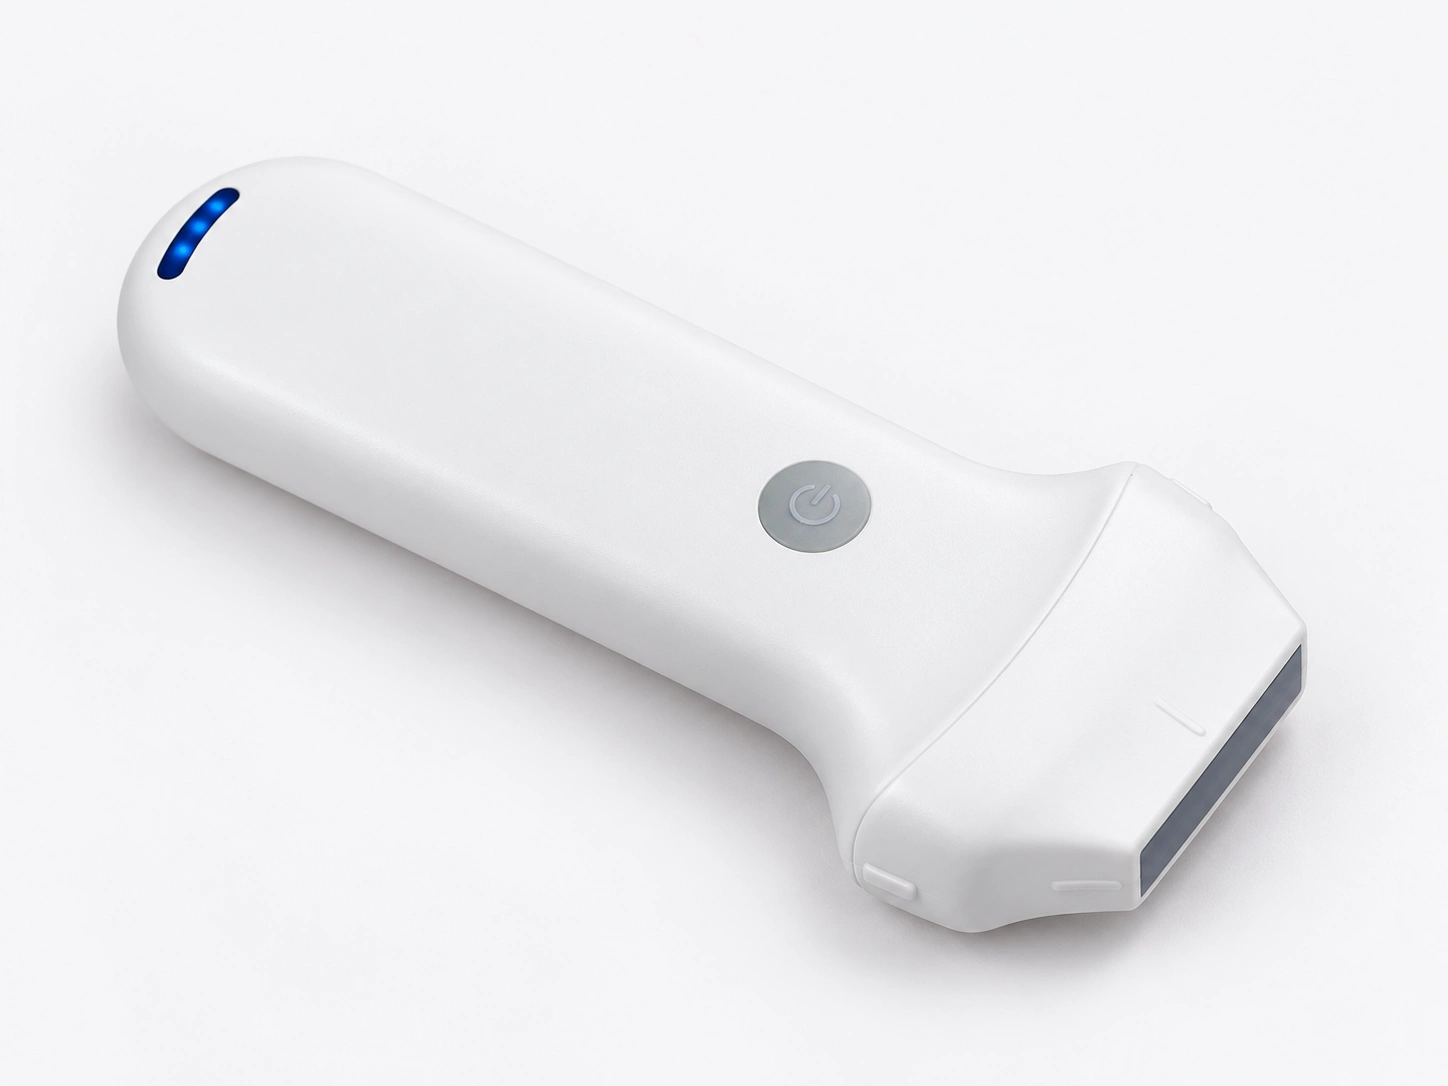
Wireless freedom. A clean, compact form that brings ultrasound into your consultation space.
Specifications follow the supplied product materials. Confirm final specifications and included items for your selected model.
Choose a frequency, scan width and depth range suited to your examination requirements.
Pair your probe with a compatible mobile terminal. Confirm supported devices and system requirements with your configuration.
Confirm software access, accessories, packaging, training and warranty terms as part of your purchase plan.
| Specification | 8N-64 | 8L | 6L |
|---|---|---|---|
| Linear array frequency | 10 / 13.2 MHz | 7.5 / 10 MHz | 7.5 / 10 MHz |
| Selectable scan depth | 20 / 30 / 40 / 60 mm | 20 / 40 / 60 / 100 mm | 20–100 mm |
| Scan width | 25 mm | 40 mm | 40 mm |
| Array elements | 192 | 192 | 192 |
| Channels | 64 | 64 | 32 |
| Listed weight | 180 g | 180 g | 200 g |
Tell us about your clinical workflow. We’ll help you review the probe, terminal and software configuration.
Open Device Management to view the Skin and Body Fat probe groups.
Open Wi-Fi settings on your tablet and select the probe hotspot named after the serial number (SN) on the device.
Enter the device serial number in lowercase as the password. This is only required the first time. Wait for the connection to complete.
Return to Device Management and tap “+ Add probe Wi-Fi.” When “Added” appears, your probe is ready.
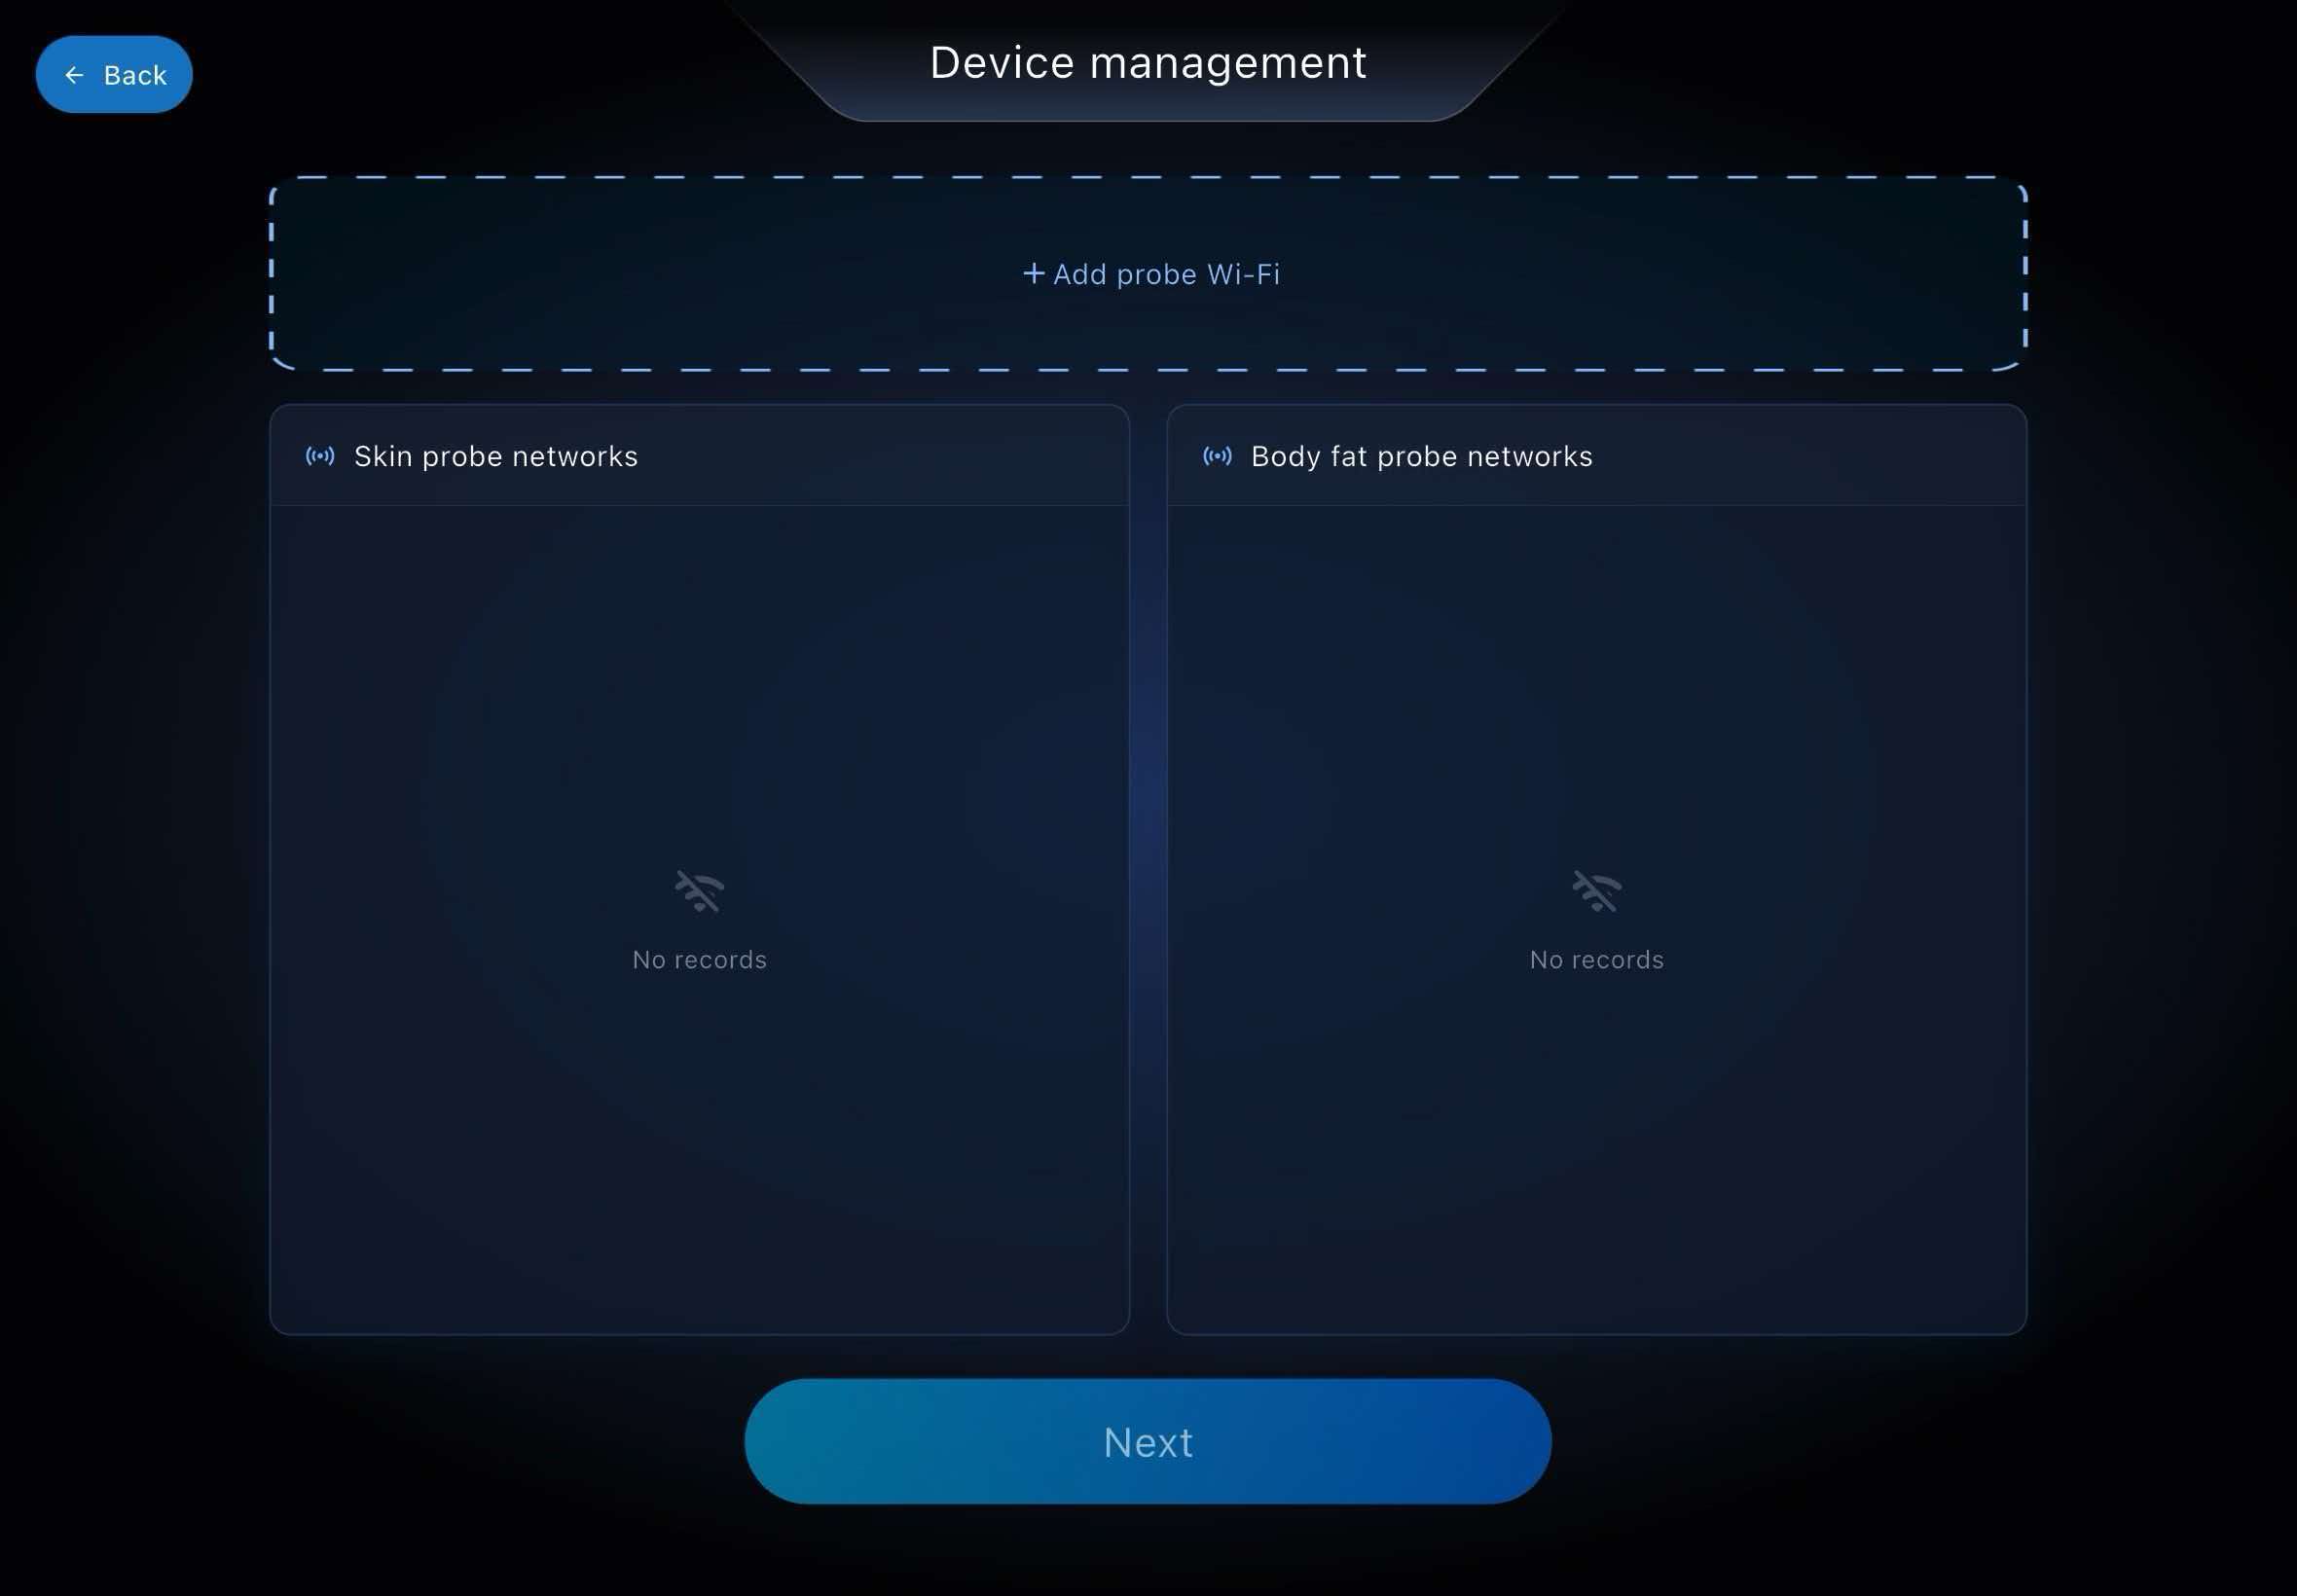
Follow this device demonstration to connect your tablet and probe wirelessly.
Real feedback collected from companies and teams using the ULTRASOUND portable AI skin assessment system — across clinics, distributors and on-site service teams.
5.0out of 5
Based on 30 pieces of client feedback, collected from companies and teams using the system.
This lightweight AI ultrasound deep skin assessment system is incredibly portable. We can carry it to different consultation rooms anytime to run skin scans for our aesthetic clients.
The before-and-after deep skin comparison function is our favorite feature. It clearly shows subcutaneous tissue changes over time and helps clients see real differences.
It greatly improves our clinic’s daily efficiency. The scan and report generation process is fast, and we no longer spend excessive time manually recording skin data.
We were surprised by its compact size. Unlike bulky traditional ultrasound scanners, this portable unit is easy to transport without sacrificing imaging quality.
No reviews match this topic yet.
LET’S TALK
Tell us what you’re looking for. Discuss product options, software capabilities and a configuration tailored to your team.
Probe selection & configuration
Software & imaging workflow
Pricing, training & delivery